
|
|
1 yıl önce | |
|---|---|---|
| .. | ||
| dist | 1 yıl önce | |
| public | 1 yıl önce | |
| src | 1 yıl önce | |
| type | 1 yıl önce | |
| .browserslistrc | 1 yıl önce | |
| .gitignore | 1 yıl önce | |
| README.md | 1 yıl önce | |
| autoWebview.js | 1 yıl önce | |
| autoWebview_v1.0.0.apk | 1 yıl önce | |
| babel.config.js | 1 yıl önce | |
| jsconfig.json | 1 yıl önce | |
| package-lock.json | 1 yıl önce | |
| package.json | 1 yıl önce | |
| postcss.config.js | 1 yıl önce | |
| vue.config.js | 1 yıl önce | |
| yarn.lock | 1 yıl önce | |
README.md
VUE & AUTOJS (PS. 像开发 Vue 前端一样开发 autoJS ! )
前端人 0 分钟上手!
用 Vue 控制手机上的 APP!
真正做到实时热更新脚本!!!
使用
vue3 vue_cli vant作为 autojs 的界面,可以互相通讯。当然也可以用 react(Vue3 真香) 之类的前端框架
项目运行视频
适用范围
auto.js 都能用 (包括 autoX 等等)
用到的工具
autox.js app 6.3.4 下载(其他版本不保证正常)
VSCode, 搜索 autox 插件安装
开发 (前端 Vue 人直接上手, 老手直接跳转第五步, 嘿嘿嘿. PS: 请安装稳定版 nodejs(版本16))
一.
npm install,二.
npm run serve,三.在 VSCode 中 打开根目录
autoWebview.js修改initUi('http://192.168.31.201:5666/#/')vue cli 运行的局域网地址四.按下核弹按钮
F5BOOM(确认vscode autox插件已开启服务,并且手机autox已链接)
打包(使用服务器版)
PS. 更新脚本不用重新打包按装app(真香警告!)
一.
npm run build建议直接放到服务器二. 打开 autoWebview.js 文件,
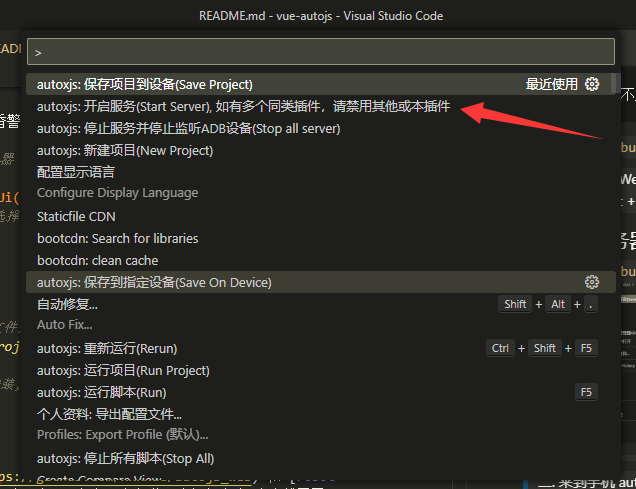
initUi('http://192.168.31.201:5666/#/')改为服务器静态文件地址 按 Ctrl + Shift + P, 选择保存到指定设备(Save On Device)命令, autojs 打包 App 安装, 大功告成!
打包(无服务器版)
一.
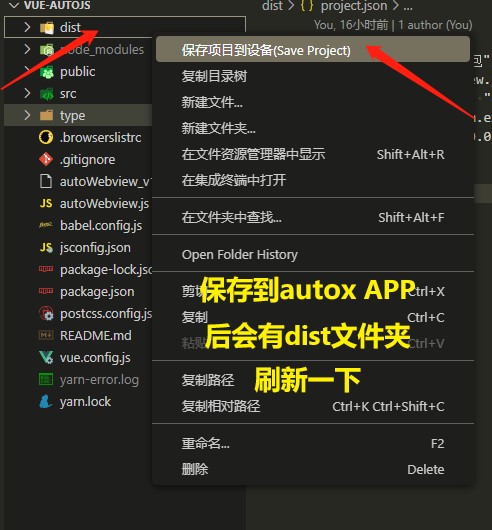
npm run build完成会有 dist 文件夹 > 右键 dist 保存到设备(autox 先开启服务,手机 app 链接服务)
二. 来到手机 autoxjs APP 打包 App 安装, 大功告成!
灵感来源
此项目灵感来源于 autojs_web 项目 和 robot 项目{由于它远程打包服务欠费一直打包失败(本人找了了一天原因:吐血),过了几天才恢复打包,所以就有了本项目(花了几天时间)}
未来
脚本加密
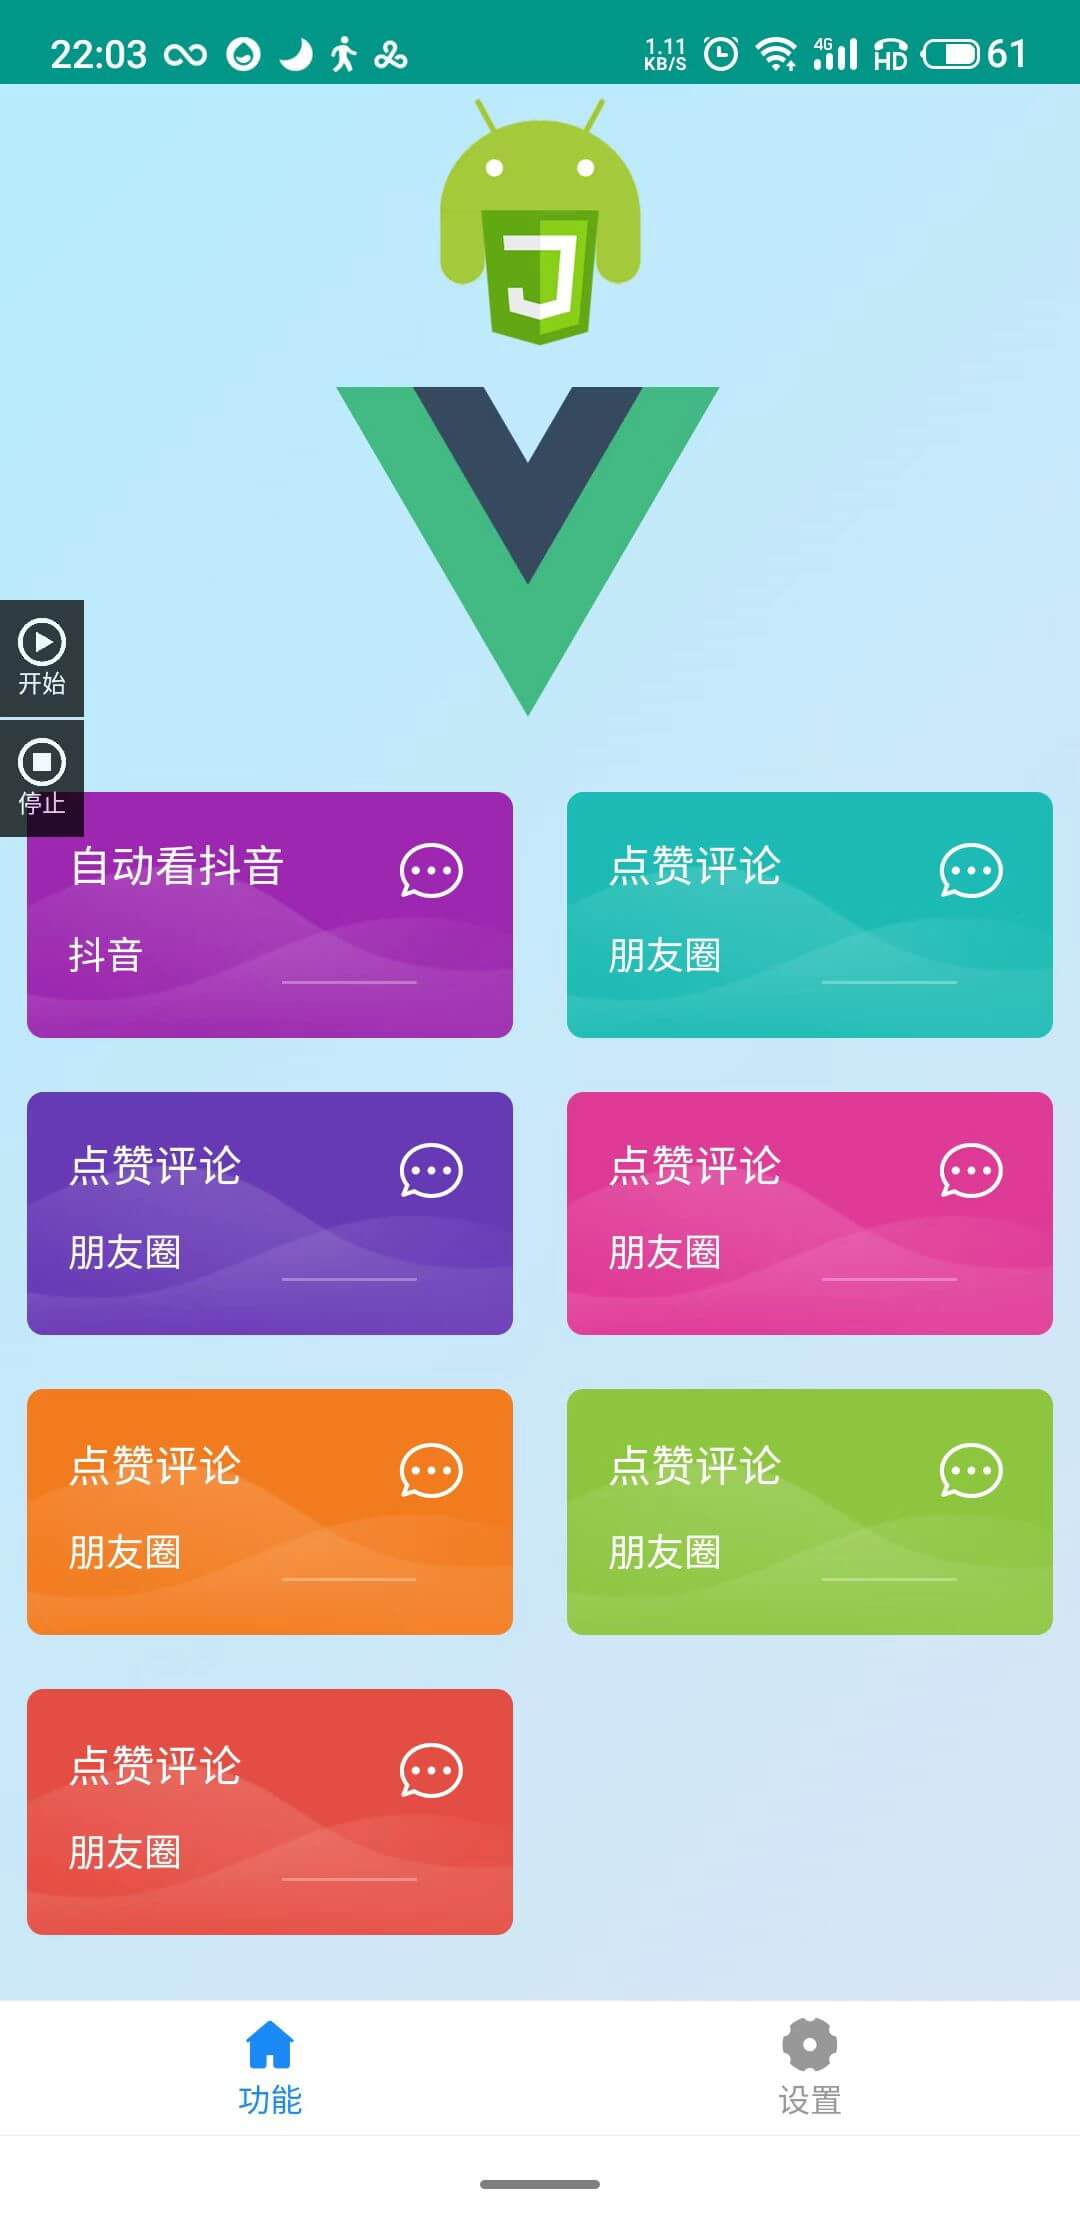
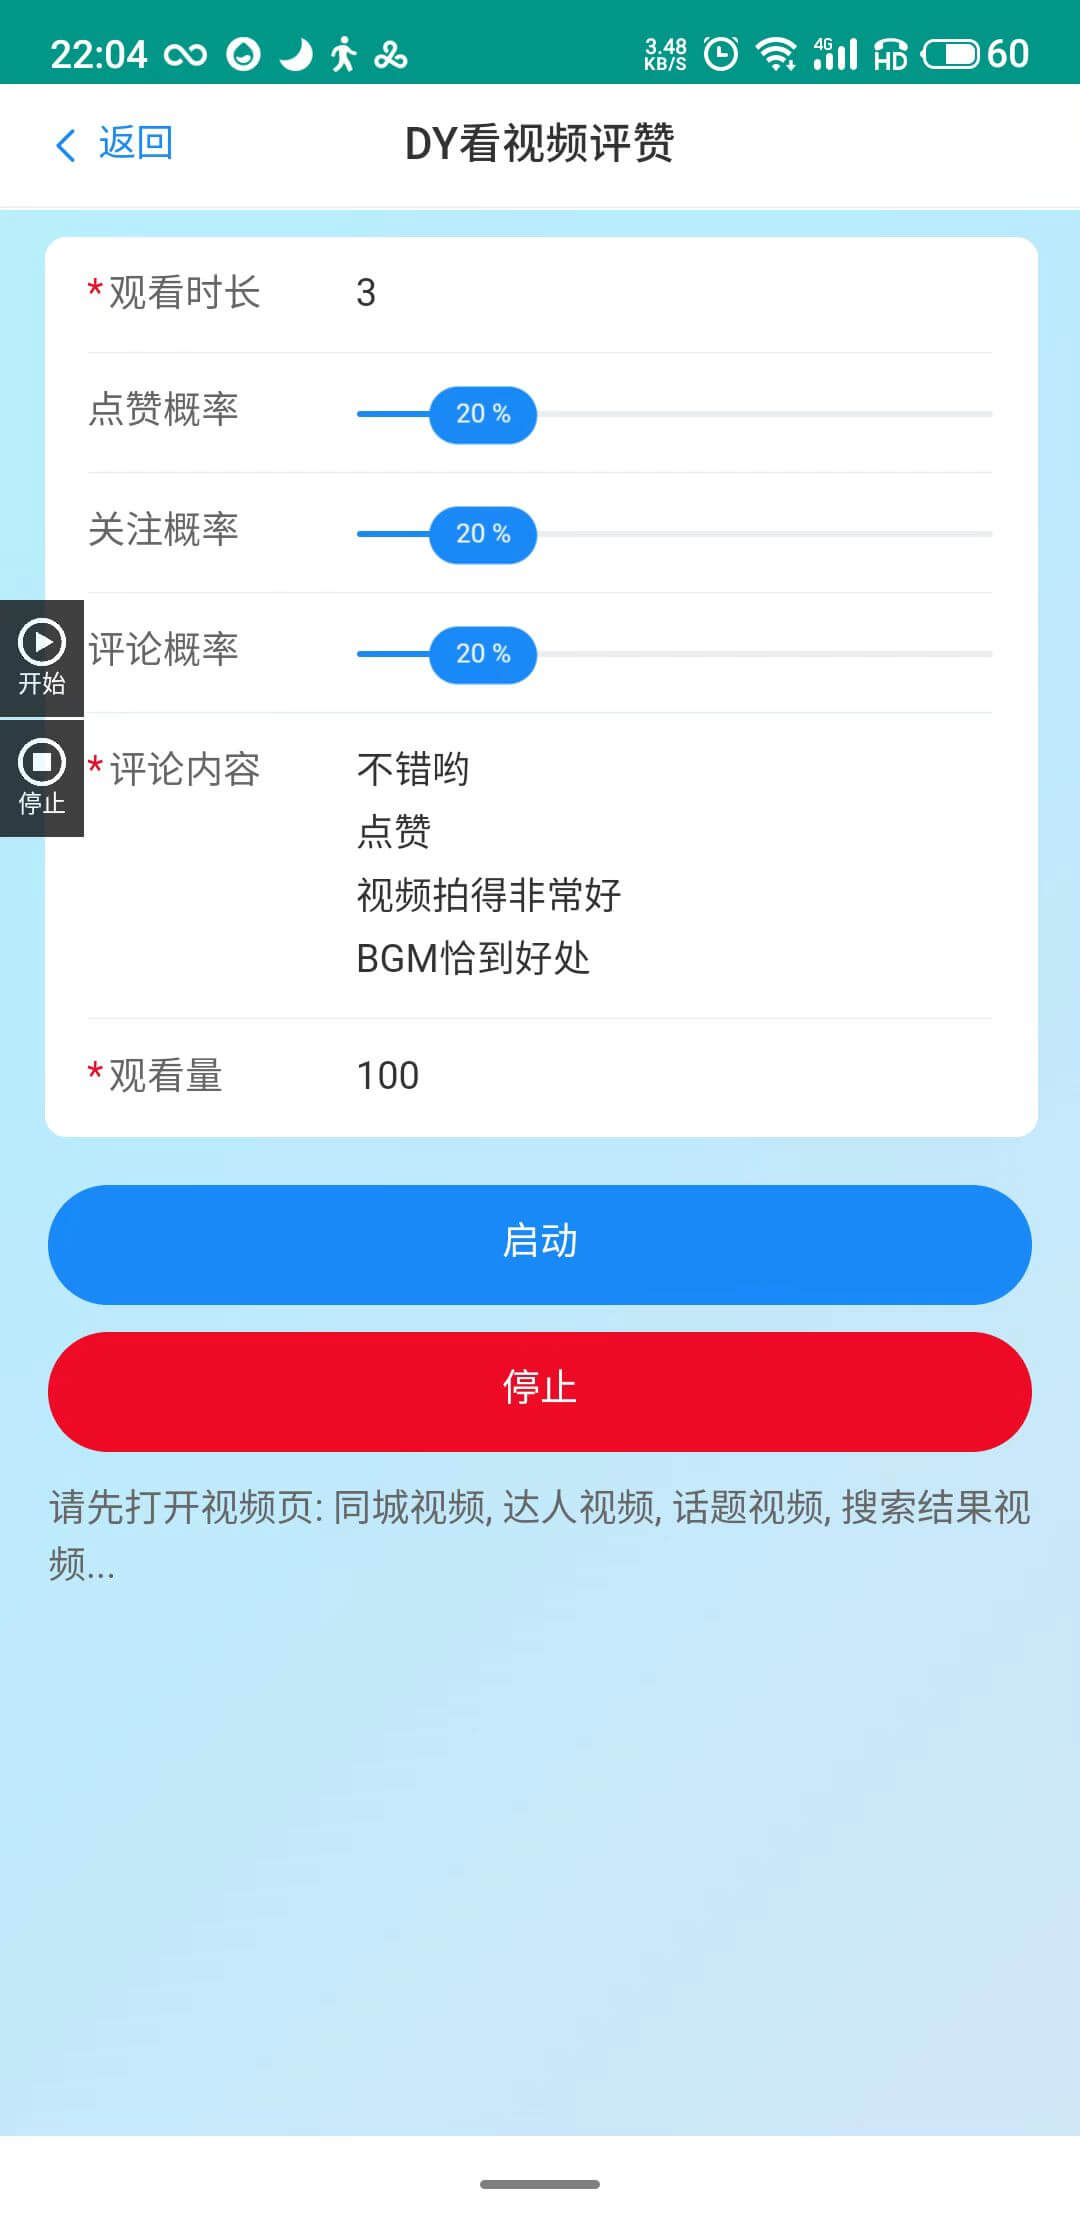
截图
联系方式
QQ : 451652176 ( 欢迎骚扰. 接定制. 问题咨询 )
QQ 群 : 314707476 (进来就是沙发)
支持作者
如果这个开源项目 可以帮助到你, 你也可以请作者吃一包辣条。(开源不易, 肝了一晚上, 头顶有点凉, 众筹植发!)

src
├─ assets
│  ├─ img
│  │  └─ gray-float.png
│  └─ style
│     ├─ global.styl
│     ├─ reset.styl
│     └─ var.styl
├─ auto                   脚本文件夹
│  ├─ global              脚本全局方法  命名一定要robot.xxx.js  !
│  │  ├─ robot.global.js
│  │  └─ robot.menu.js
│  ├─ robot               脚本文件 命名一定要robot.xxx.js  !
│  │  ├─ robot.douyin.js
│  │  └─ robot.weixin.js
│  ├─ JSSDK.js            前端调用脚本SDK入口文件(相当于wxjssdk) window.auto 方法在此
│  └─ tsconfig.json       代码提示
├─ views                  Vue 不解释
│  ├─ Douyin.vue
│  ├─ Home.vue
│  ├─ TabRouteView.vue
│  ├─ User.vue             window.auto 使用方式
│  └─ Weixin.vue
├─ App.vue
├─ flexable.js
├─ main.js
├─ router.js
└─ store.js
开发技巧: (互相调用的方法直接挂在window/global)
一: autojs => web
1. autojs修改web数据
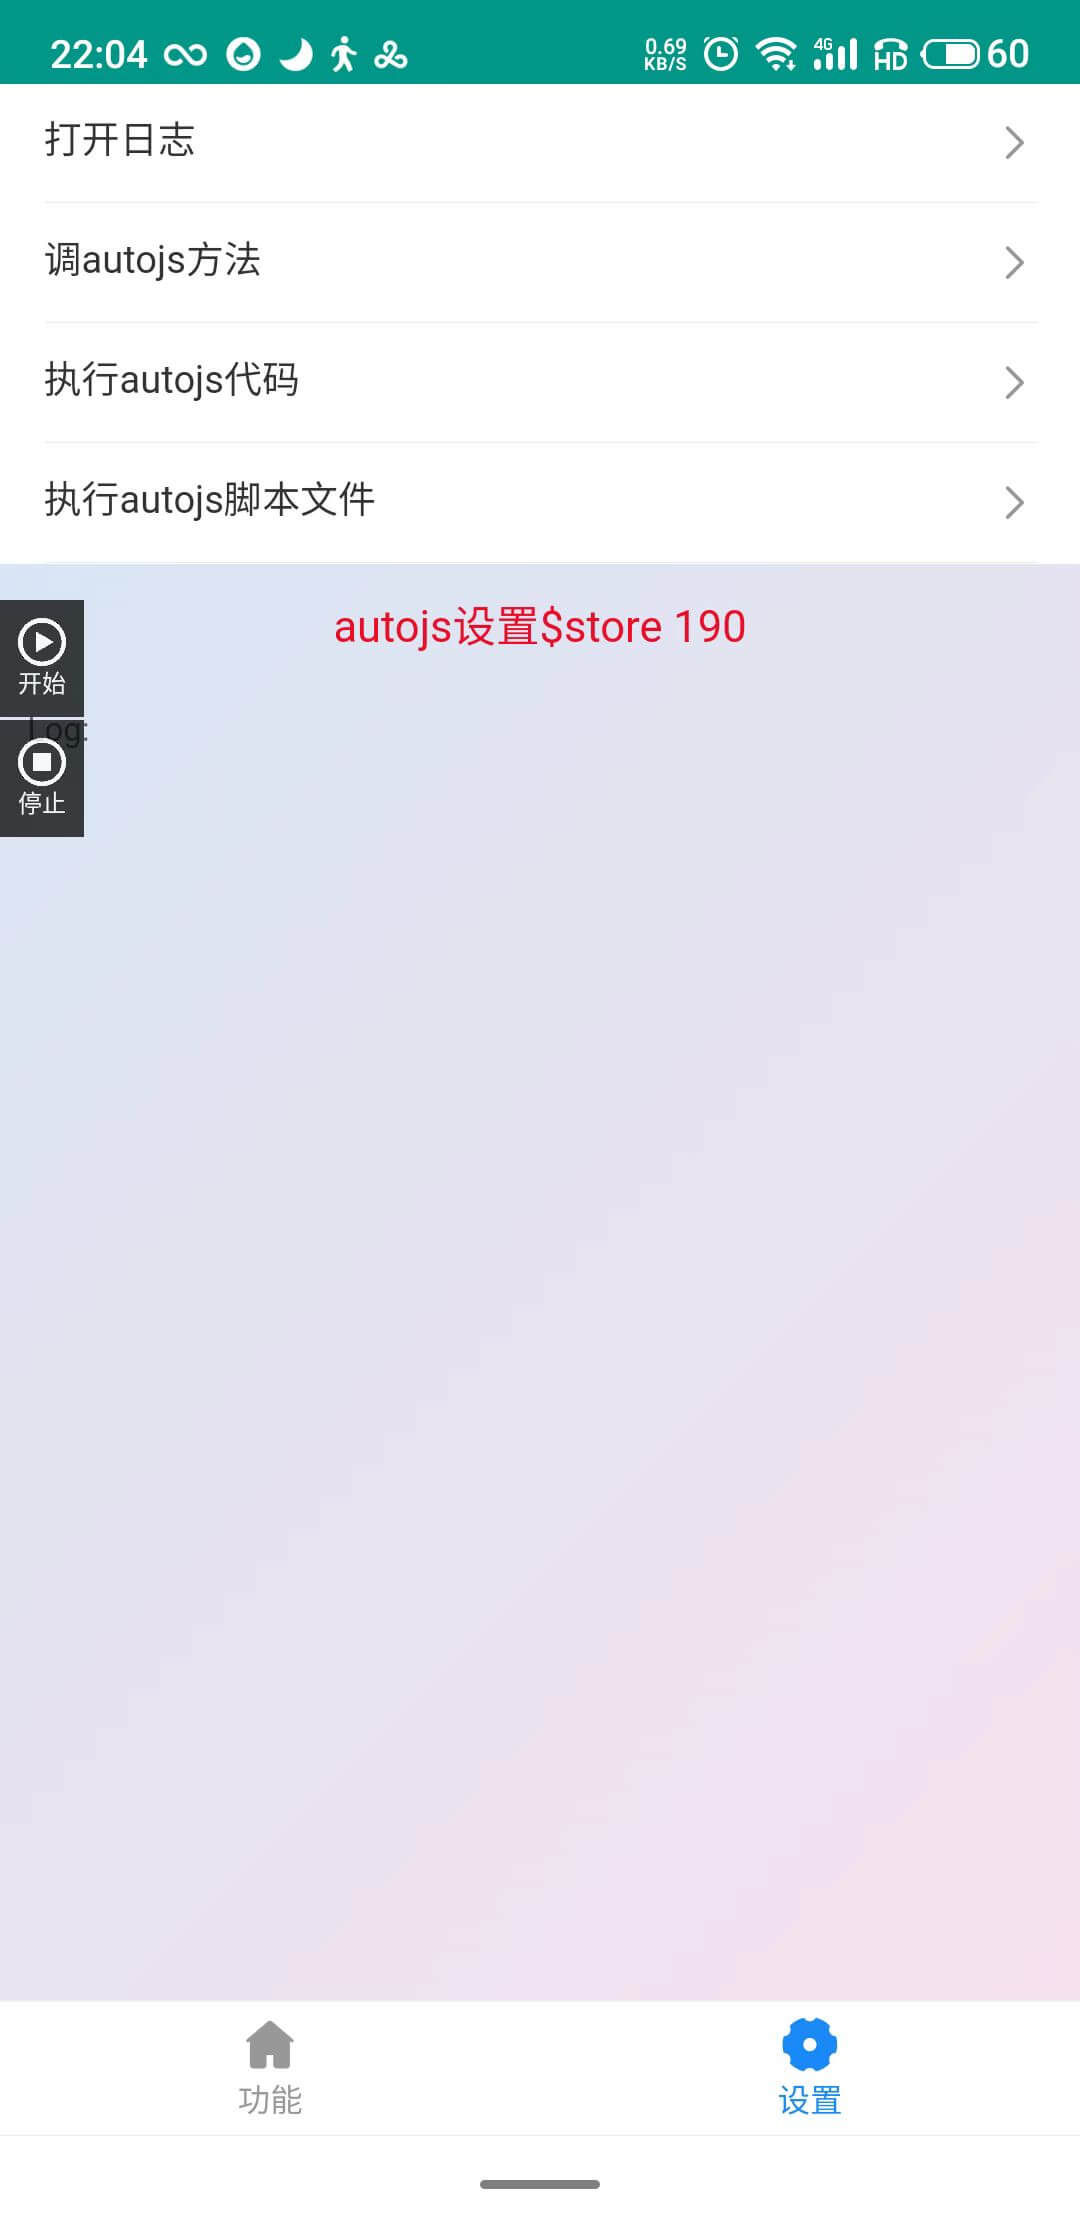
// robot.global.js => global.jsVal: autojs 中修改web/vue 中 数据(web一般将变量挂到window, 推荐直接修改vue $store, 数据相应改变视图)
jsVal('$store.count', ++idx)
jsVal('$store.log', ['asda', 'adasd']) // 支持array
jsVal('$store.auth', { id: 'asdasdgfhgf45646asda4545s' }) // 支持object
2. autojs调用web 方法
// robot.global.js => global.jcCall:
jsCall('console.log(1232)')
二: web => autojs
3. web 调用 autojs 文件模块 @/auto/robot/robot.weixin.js
// Weixin.vue
auto.invoke(
'runRobotNow',
[{ robot: require('@/auto/robot/robot.weixin'), ...this.model }],
() => {
// log('ajFun1 回调:', typeof r, r)
},
)
4. web 调用 autojs 方法 // User.vue
// 调用方法
window.auto.invoke('showLog')
auto.invoke('toastLog', '调autojs方法 成功')
// 执行代码
window.auto.execAjCode('toastLog("执行autojs代码 成功")')