使用Hugo/Gogs/Typora/Python打造友好的写作环境
Hugo创建站点 #
这方面内容参考Hugo官方中文文档,这里就不做多赘述。
使用Gogs钩子自动生成博客静态内容 #
当我在使用hugo时首先就想到了一个问题,我每次修改博客内容还需要手动git commit,然后去服务器git pull,再用hugo生成静态内容?
这也太麻烦了,可以说是不可接受的,那么Gogs有web钩子功能,那么在Gogs接收到提交时自动去服务器拉代码生成静态内容呢?
不用犹豫,用FastApi来做非常合适,这是Python代码 #
@app.post("/PullBlogContent")
async def PullBlogContent():
    process = subprocess.run("git pull", shell=True, cwd="/opt/hugo-blog", stdout=subprocess.PIPE, stderr=subprocess.PIPE)
    subprocess.run("../hugo clean", shell=True, cwd="/opt/hugo-blog", stdout=subprocess.PIPE, stderr=subprocess.PIPE)
    subprocess.run("../hugo", shell=True, cwd="/opt/hugo-blog", stdout=subprocess.PIPE, stderr=subprocess.PIPE)
    output = process.stdout
    errors = process.stderr
    return f'[ {output} ]: {errors}'
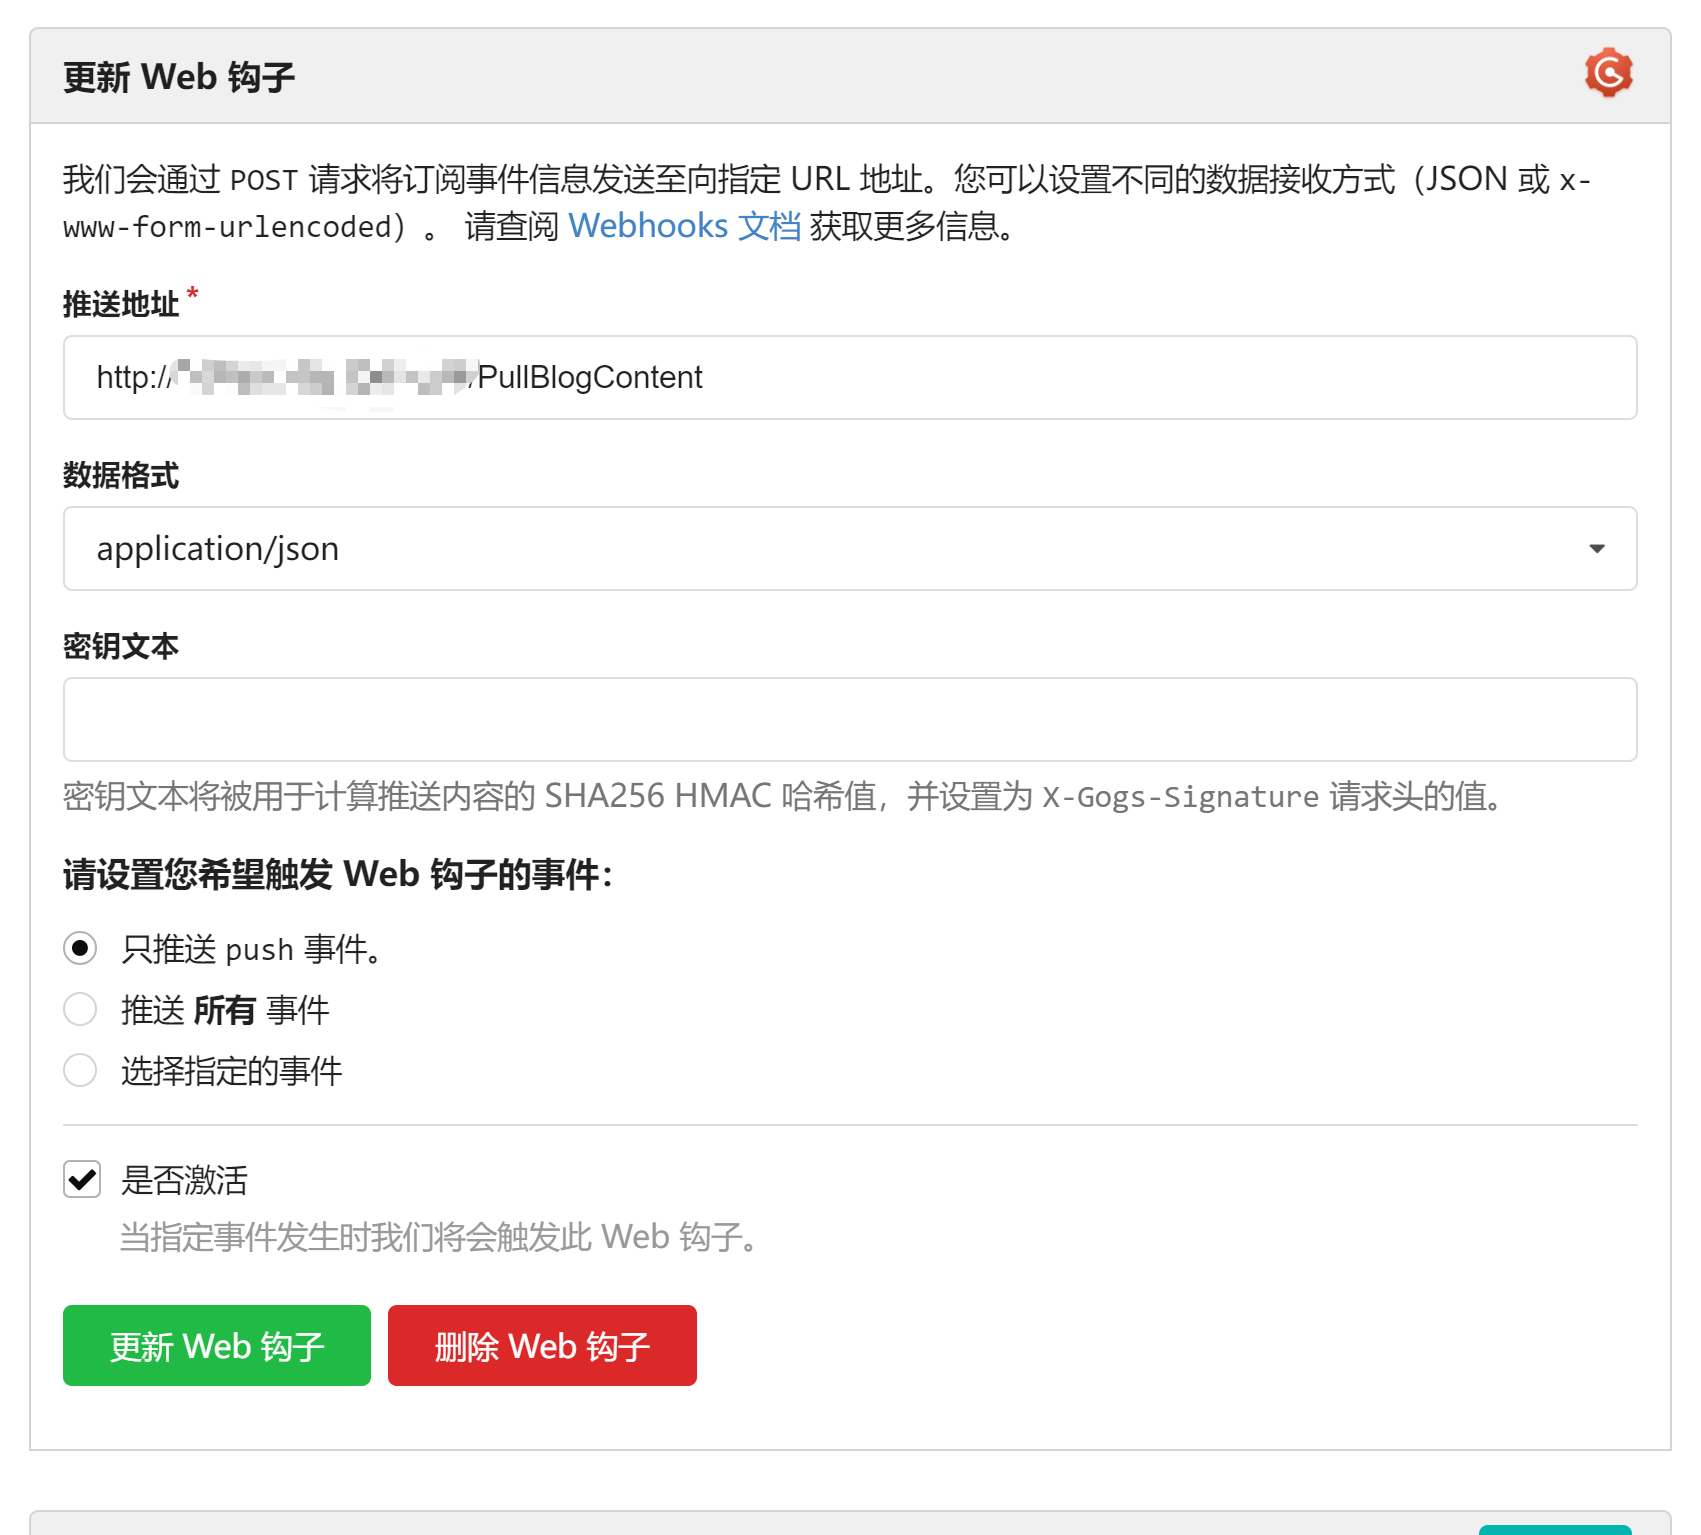
Gogs配置Web钩子 #

这个方法能够帮我完成自动更新博客内容,那么我在我电脑上修改了博客内容我也不想提交,最好是能有个很简单的操作来完成内容提交。
Typora使用导出命令行实现Git自动提交 #
首先进去偏好设置->导出,添加导出命令:
cd C:\Users\chaoj\OneDrive\文档\博客\hugo-blog && git add . && git commit -m "%date:~0,4%-%date:~5,2%-%date:~8,2%-%time:~0,2%-%time:~3,2%-%time:~6,2%" && git push -u origin master
绝对地址就可以,自动提交代码到服务器,选择导出路径选择不选择导出路径,导出后查看结果,就可以了,记得要在服务器配置记住git密码。
还有个麻烦事,上传图片 #
看到网上很多都在用Pic啥的,我用不好,而且也怀疑那些图床的访问速度和数据安全问题,于是还是老一套,自己写上传文件的Api,使用的还是那个Python文件。
Python全部代码 #
import os.path
import subprocess

import uvicorn
from fastapi import FastAPI, UploadFile
from fastapi.params import File
from starlette.responses import PlainTextResponse

app = FastAPI()

DOMAIN = "https://cybersicko.net/images/"


# 运行Linux命令
def run_linux_command(command):
    process = subprocess.Popen(command, shell=True, stdout=subprocess.PIPE, stderr=subprocess.PIPE)
    stdout, stderr = process.communicate()
    exit_code = process.wait()

    # 打印输出和退出码
    print(f'命令输出: {stdout.decode()}')
    print(f'退出码: {exit_code}')
    return f'[ {exit_code} ]: {stdout.decode()}'


@app.post("/PullBlogContent")
async def PullBlogContent():
    process = subprocess.run("git pull", shell=True, cwd="/opt/hugo-blog", stdout=subprocess.PIPE, stderr=subprocess.PIPE)
    subprocess.run("../hugo clean", shell=True, cwd="/opt/hugo-blog", stdout=subprocess.PIPE, stderr=subprocess.PIPE)
    subprocess.run("../hugo", shell=True, cwd="/opt/hugo-blog", stdout=subprocess.PIPE, stderr=subprocess.PIPE)
    output = process.stdout
    errors = process.stderr
    return f'[ {output} ]: {errors}'


@app.post("/UploadFile")
async def create_upload_file(file: UploadFile = File):
    contents = await file.read()
    filename = file.filename

    # 这里可以添加你的处理逻辑,例如保存文件到磁盘等
    # 保存文件到磁盘的例子:
    upload_path = "/media/uploads/"
    if not os.path.exists(upload_path):
        os.makedirs(upload_path)
    with open(f"/media/uploads/{filename}", "wb") as buffer:
        buffer.write(contents)
    return PlainTextResponse(DOMAIN + filename)


if __name__ == '__main__':
    config = uvicorn.Config(app, host='0.0.0.0', port=xxx)
    server = uvicorn.Server(config)
    server.run()
非常的简单,就是将文件写入到/media/uploads/目录,返回域名+图片地址,然后用Nginx做静态映射,就完成啦。
Typora配置图片上传 #

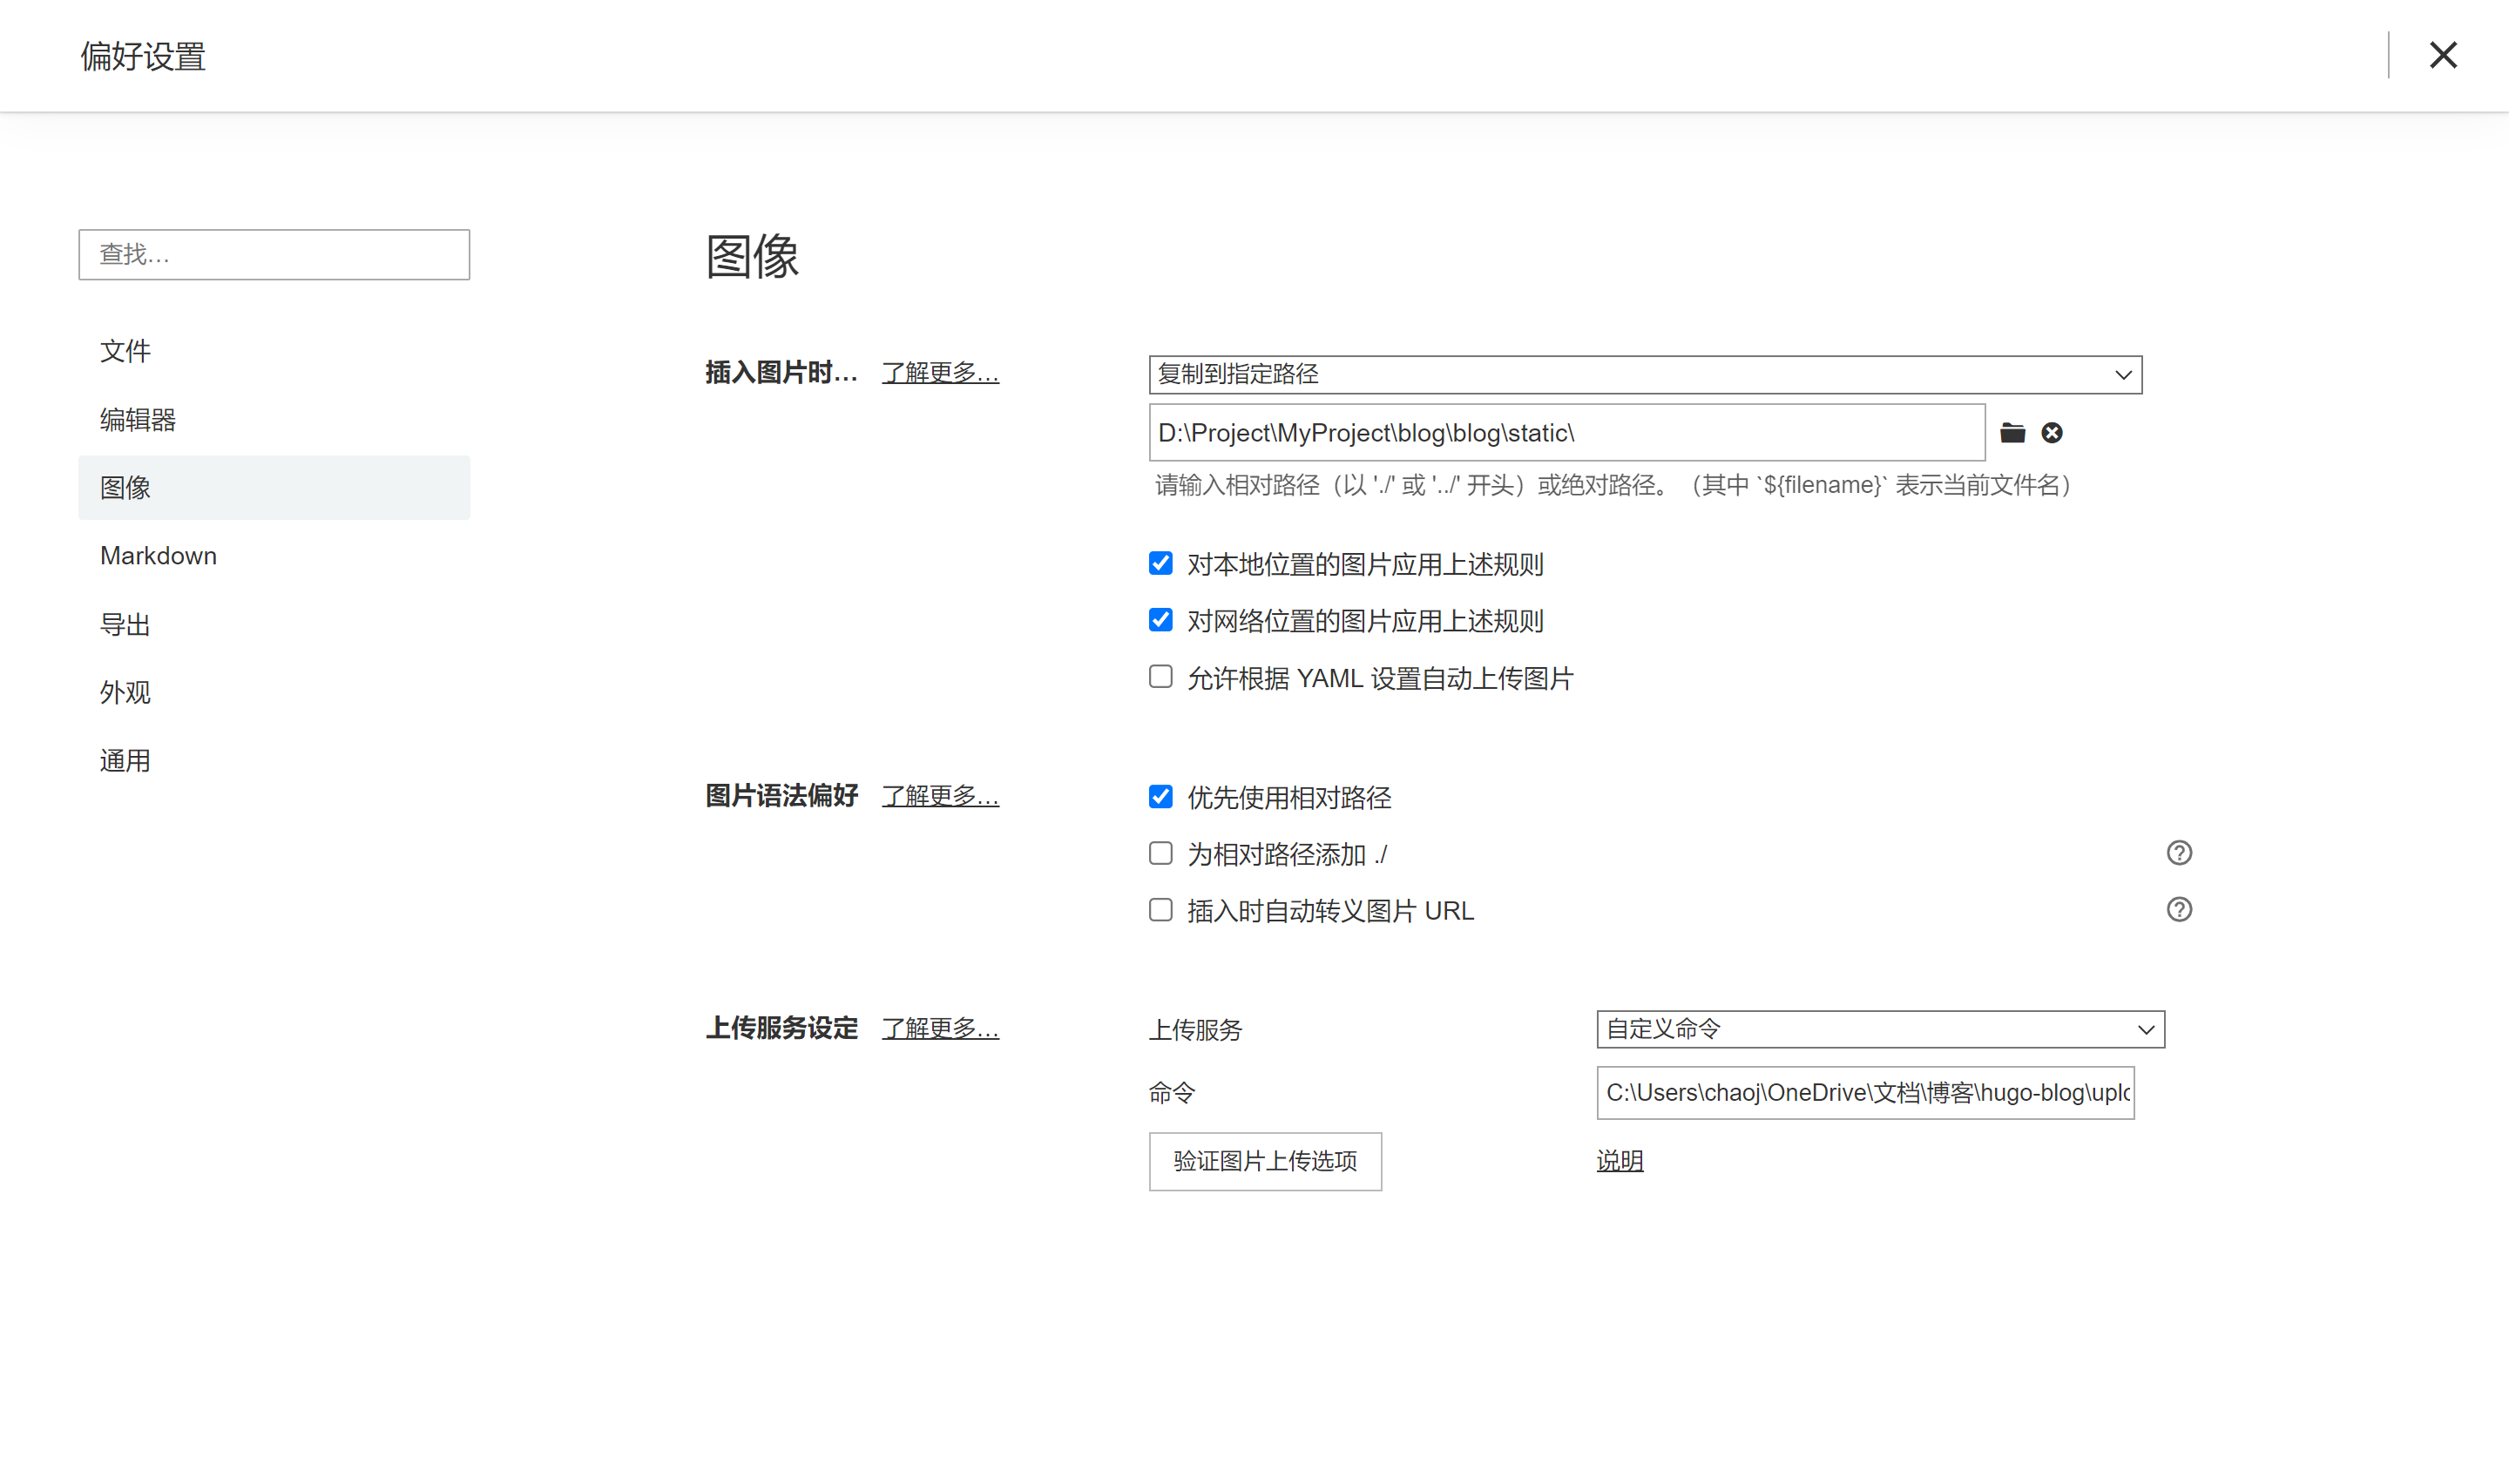
先将插入的图片复制到指定博客静态目录做备份,然后再上传服务设定中配置上传,使用自定义命令,命令内容是执行一个bat批处理。
命令内容:
C:\Users\chaoj\OneDrive\文档\博客\hugo-blog\uploader.bat
批处理内容:
@echo off
@chcp 65001 >nul & cmd /d/s/c
set JAVA_INTERFACE_URL=xxx/UploadFile
set image=%1
curl -X POST -F "file=@%image%" %JAVA_INTERFACE_URL%
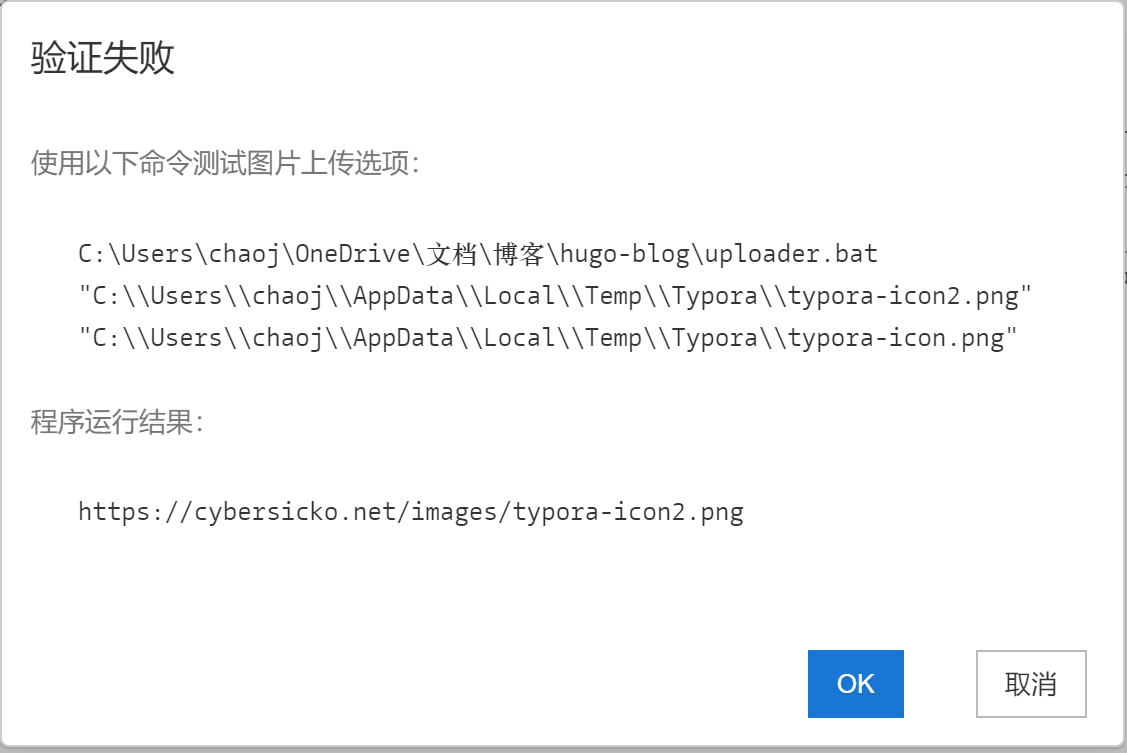
然后测试一下:

搞定,接下来在Typora中就可以插入图片直接上传到服务器了。
流程 #
Typora打开Content文件夹,开始修改内容,然后用导出命令提交,提交后自动更新。